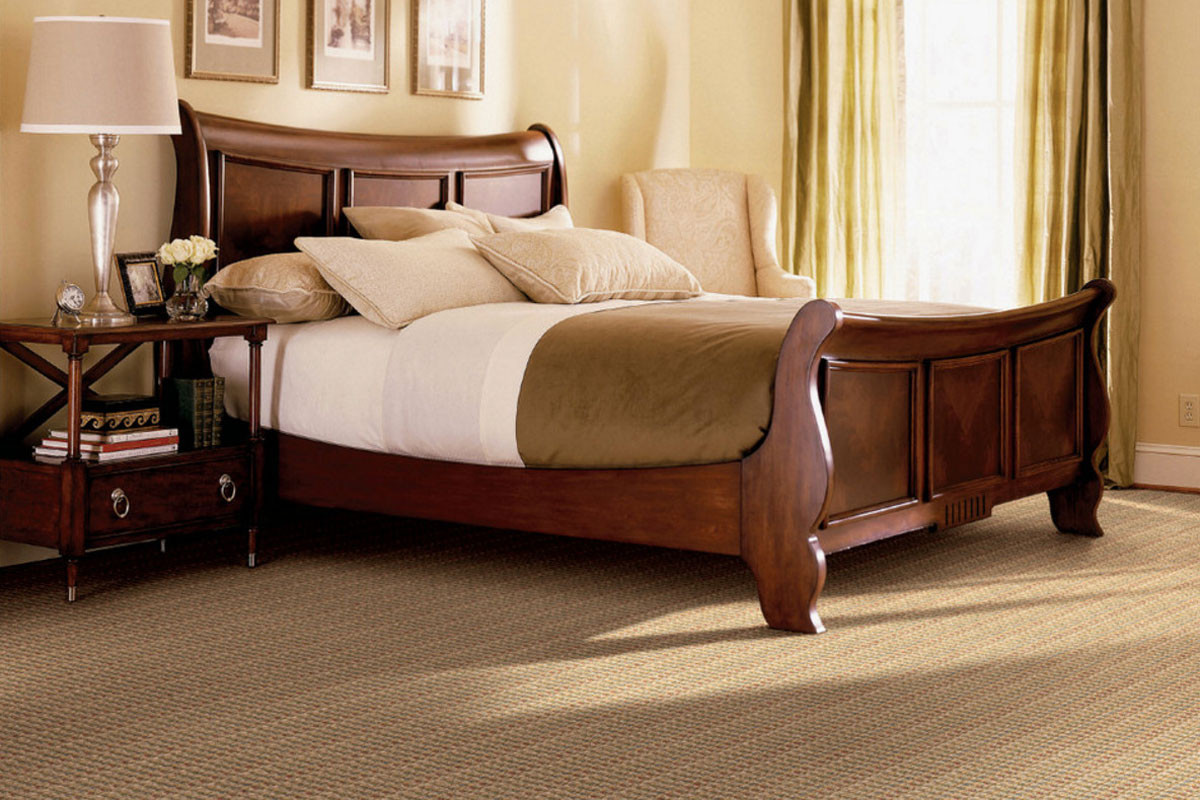
Having carpeted rooms in your house can enhance the warmth and comfort of the room. It also helps to give it a classy and exotic look that is very impressive.
However, carpeting a room is not the easiest task, and it can take good effort. But if you follow the right method, it’s way easier. Also, you won’t have to pay money for professional services to do the job for you as you’ll be able to do it yourself.
So, let’s take a look at the in-depth step-by-step method on how to install carpet down below.
Step 1: Preparation Work
Before you start with the installation process, you need to do some preparation work. It’s very crucial to get the surface ready before you start to lay down the carpets. Having the right tools for the installation process is crucial. But most people forget the importance of preparing the surface that they are going to lay the carpet on. As a result, the carpet is not going to give you the longevity that you crave.
You can realize how critical it is to prepare the surface beforehand. It’s also going to help you get the carpeting done so much faster and without any issues. Let’s see what preparations you need for carpeting your rooms.
Tools You Need
Let’s take a look at the tools you need to gather for the carpet installation process.
| Vacuum | Pen, paper, and tape | Hammer and nails | Tackless strips | |
| Padding and carpet | Seaming tape | Seaming Iron | Knee kicker | Dolly |
| Carpet stretcher | Box cutter | Carpet trimming tool | Chisel |
Get the Floor Clean
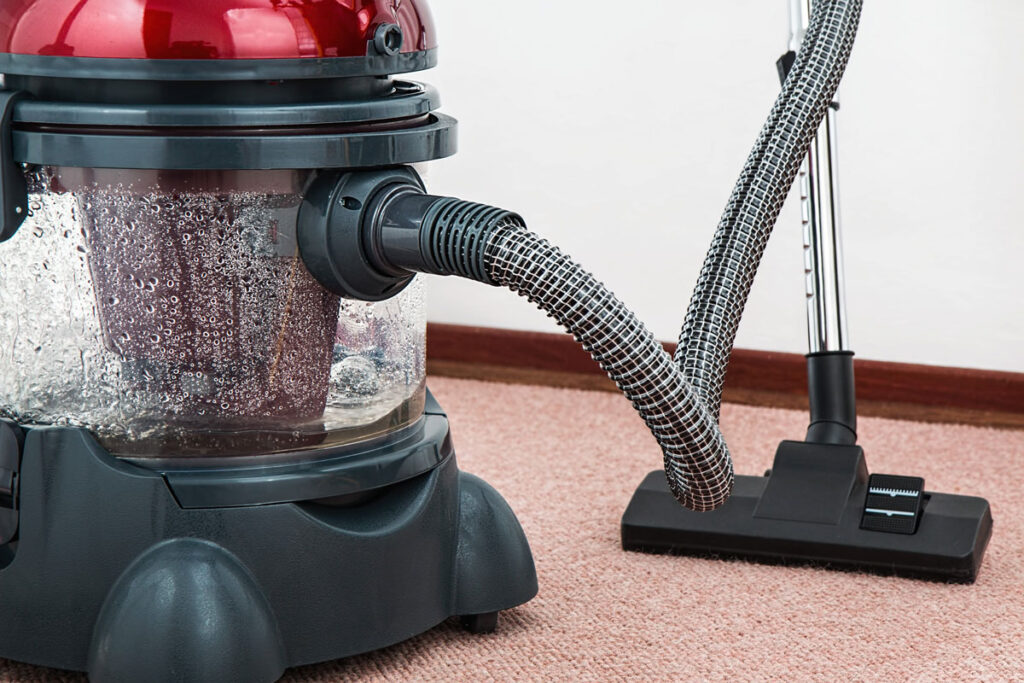
The first thing you need to do is clearing the floor properly. To do that, you can mop the floor, use a vacuum to clean it properly. However, you also need to make sure that the floor is dried out before you start with the process. You don’t want any water to stay under the carpet. So, you should leave the floor to dry for at least a couple of hours and make sure that it’s properly dried out before you move on.
Getting the Measurements
While you are waiting for the floor to dry out, it’s a great opportunity to measure out the floor. However, this is where you need to be super careful about everything as it can cause so many troubles in the future.
Start by measuring out each side of your house, preferably beginning with the longest side will be beneficial. Also, make sure to write these measurements down perfectly in a notebook. Try to get as much close to perfect measurements as you can. That’s going to help make getting the right amount of materials for carpeting your rooms. Also, it’s going to help you prevent wastage as well. So once you have the measurements, you can move on to the next steps.
Figuring out the Square Footage
You are not going to go to the store and get carpet for your room with just basic measurements of feet or meters. You’ll need to get the square footage of the area to pick the right amount of carpet for your room.
It’s not that difficult to get the square footage measurements at all. If your room is perfectly rectangular, you can just multiply the length by the width, and that’s going to give you the square outage. For instance, if the room is 12 feet by 10 feet, you’ll need to multiply these together, which will make it 120 square feet after the equation. That’s going to help you measure how much is carpet per square foot, as well that you can use to estimate your budget.
Add Extra to the Measurements
Now that you have a clear estimation down in your notepad, you’d have to add another 10 to 20 percent to that measurement. That’s to ensure that you don’t run out of materials, and especially your carpet doesn’t fit short. You can imagine how that can mess up the whole installation process. So, it’s better to add some extra, 10 to 20 percent in particular with the estimations. That’ll make sure that you have extra material to work with. So, if you mess up a little bit, you can easily start over in most cases.
Having extra materials can help so much in the process of carpeting your rooms. That’s because if you are doing it for the first time, you are more likely to mess up. That can lead to a shortage of materials, which is super distracting. You’d have to go to the store to purchase extra materials, and that can be a pain for most people. That’s why it’s way better to just add extra to the measurements in the first place.
If You Want, Read More About How to Install Carpet – A Complete Beginner’s Guide
Buy Carpet and Padding
After the add up, you are ready to purchase the necessary carpet and padding according to the new estimations. You can either go to your local store or online to make the purchase. Carpets and paddings will be listed in square footage or meters in the market. So, you’d just need to compare your measurements to the packages that you find in the store. Some even give you manual access to select the measurements.
However, this is where you choose the design of your carpet as well. You can probably tell that it’s a critical part of the whole process and it’s going to have a huge impact on how the end result is going to look. So, as you go to buy carpets make sure to get some great designs with some good aesthetics, which is going to elevate the look of your house. Avoid too much color and fancy designs and try to go for a timeless one. Make sure that it sites the interior design and complements it even further.
Also, you need to remember that it’s going to impact how much to install carpet in your room in total, and that’s why you need to consider your budget as well. It’s always a better option not to compromise on the quality to save up money. A good quality carpet will give you the best value for your money with its longevity and premium look.
Buying Tackless Strips
You’ll need to get tackless stripes to keep the carpet in place. You need to remember that the tackless strips are going to go around the whole border of the room, and you’ll need to get the right amount of it. To do that, you should multiply the length and width measurements by 2 and add 10 percent of the total. That’s going to give you the right amount of tackless strips that you can work with. If you have existing tackless strips, you can just get as much as damaged stips that you need for a replacement. Also, go for the wider strips while you go out to buy the tackless strips.
You need to remember that tackless stripes are the #1 critical element in the installation process. That’s going to keep the carpet locked in place no matter what. So, it’s vital to pick the right type of tackless stripes if you want to get the most longevity out of the carpeting.
Step 2: Placing the Tackless Strips and Padding
Now that you’ve got the place ready, it’s time to dive into the real business. You’ll need to place the tackless strips and padding on the surface of your room. Using improper techniques will lead to some serious issues in the future.
You need to be very careful about installing the stripes and padding them into place. That’s the foundation of where you are going to lay the carpet. To help you with that process let’s take a look at the method to place these down properly.
Nailing the Tackless Strips down
First, you’ll need to nail the tackless strips into the place where you’ll lay the carpet. You can install it a quarter inch or a half-inch away from the wall, and make sure that you nail it in a straight line. Place them on each side of the room and keep them pointed towards the corner instead of the center.
It’s better to use 2 to 3 nails per strip, and use a hammer to press these gently to the wood surface. You can also find tackless strips that have nails in place to make it easier for you. You can just hammer these down without any further effort. However, you need to be careful with the hammer and make sure you don’t mash it as hard as you can against the wooden surface. That might destroy the wooden floor, and you can imagine how that’s going to be the worst-case scenario for you.
However, the tackless size is not going to be a perfect size that you need to put down. To size them according to your needs, you can use a handsaw. If the surface is made of concrete, you can use a drilling machine to put holes and use aluminum nails in these. Be patient with the process and don’t try to rush it in any way.
Laying out Padding
Now that you have the tackless strips in place, it’s time to lay the padding on top of them. That’s basically the second to last main step, which is how to install carpet padding that you need to do properly. Start by rolling out the padding, and cover the whole room with it. As you’ve got 10 to 20 percent added to the exact measurements, you don’t have to worry about it being short. Just label them as much as you can and cut it on the inside of the tackless strips to get a perfect laying of padding.
Also, be sure to make it even throughout the whole surface to prevent improper alignment issues afterward. You don’t want any hills or mountain-like heights popping out in the middle of your room. That’s why it’s very crucial to get the alignments correct before you move on to the step where you staple it down. If you’re not careful about that now, you’d have to remove all the staples to fix the alignment and re staple the whole thing once again, which is very irritating.
Stapling the Padding in Place
After lying the padding on the floor, you need to staple it to secure it in place. For that, you’ll need a powerful stapler machine. You’ll find it in most local hardware stores. Yet, if you are having difficulties finding it, you can just search it up online. Make sure to get a good quality one that has decent power and can penetrate through the thick surface of the padding.
Once you get the right stapler in place, you’ll need to put the stapes every 2 feet, or you can also get more density with it if you like as well. However, don’t go for too little as it’s not going to hold the padding in place.
If you have a concrete floor in your room, you can just use padding glue underneath the padding. Go for a good quality one as it’s going to impact the durability of the whole thing by a lot. A good quality padding glue is going to work pretty effectively, and it’s also going to give a great hold as well that you crave. You can lift the segments of the padding up to apply the glue easily to the hard to reach spots.
Getting the Seams Together
The final thing you’ll need to do in this step is putting the seams together with duct tape. You’ll need to buy a good quality duct tape that’s going to hold the pieces together. To get the seams together, use a long piece of duct tape and press it down the seam. You might need to use multiple pieces to put all the seams together.
However, you need to press it down with your hands properly to make sure that it sticks well, and you can smooth it out as well to give it a good finish. It’s not absolutely necessary to get the most perfect finish on the seams as it’s going to stay underneath the carpet anyways. But it’s undoubtedly going to help the padding stay together better.
Step 3: Laying the Carpet
If you don’t do it, sometimes the carpet might actually shrink because of these reasons. Or it can expand as well, and it all depends on the temperature shifts and humidity levels. However, if you keep it rolled up for a whole day, it’s going to slowly adjust to your house’s temperature and humidity level without any modification in the size and form.
You can probably see that not being careful about this subtle thing can create such big issues. That’s why it’ll be a wise thing to wait for at least 24 hours after bringing these into your place, and then, you can move onto the next steps.
Cut the Carpet to an Appropriate Size
Once your carpet is suitable for the room temperature and humidity level, you can cut it to the right size according to your room length. You can probably guess how much carpet you get is going to impact how much does it cost to replace carpet in that scenario. But as previously mentioned, you should get some extra carpet anyways so that you don’t run short on it in the installation process.
Now, you don’t need to get the sizing absolutely perfect in this very step. Just cut it roughly to a point where you’ll be able to work with what you have comfortably without the excess parts hanging out interrupting your working process. You should use the actual measurements that you put down on the notepad, and use that as a guide to cut it. Again, make sure to leave a bit extra on both ends, so that it’s not too short.
However, if you cut it too short, you’ll have to either buy a new carpet for your room, or you can use it by cutting it into two pieces and using a seaming tape to attach these together. That’s what we’ll discuss in greater detail in upcoming segments.
Rolling out the Carpet
Rolling out the carpet and getting a good alignment is actually pretty hard to do if you don’t use the right method. For that, you need to pick a corner of your room and start from there. It’s going to be better if you leave 3 to 4 inches of excess carpet on each side, and that’s going to make sure when you cut it in the final step, it doesn’t run short.
The most important thing here is evenness. You don’t want the carpet to create any mountain or uneven height that’s going to mess up the finishing look. Also, you need to remember that you are going to apply seaming tape to attach these together. So, make sure that you make the carpeting as even as you can in this phase. Otherwise, you’d have to go through a lot of effort to do it, which is pretty annoying and might damage
So, just do as much as you can to make it seamless and get a smooth carpeted surface. Again, you don’t need to worry about the excess that might look bad at this moment. You’ll deal with that once you are done with the whole process, which is going to be in part 4 of the segment. For now, just go for the next step after rolling the carpet and covering your whole room.
Using Seaming Tape Correctly
At this point in the carpeting process, you’d have seams to deal with. A visible carpet seam can ruin the look of your room, and it’s definitely something you don’t want there. And the best way to cover these would be to use a seaming tape. Yet, most people don’t know how to put these properly, and that’s why their finish looks super bad. If you don’t put the seaming tape in the right way, it’s going to make the whole carpeting look very clumsy.
To do that, you should pull the seam of the carpet and put the seaming tape underneath it. You also need to make sure that the sticky part of the tape is facing upwards. That’s going to make sure that the carpet sticks to the tape when you place it back. However, it’s going to be a great idea to place the seams in low traffic areas only. That will help to make the whole thing much more durable and smoother as well. Also, check if both of the edges are well taped well or not. You need to do a proper job at putting the tape so that the seam doesn’t show up after a while.
Heating the Tape with Heated Seaming Iron
Once you got the seaming tape underneath the carpet, it’s time to apply heat to activate the tape and seal the carpet seam. To do that, you have to set the seaming iron to the setting of 2 or 3 at the max. Now, you’d have to lift up the carpet to reveal the tape. After that, insert the seaming iron there and leave it in that exact place for 8 to 10 seconds. That’s going to cause the adhesives to melt, which will do the job of activating the tape.
You can start from the top and work your way to the bottom while you use a seaming iron. In that case, after leaving the heated iron in place for 8 to 10 seconds, move it down to the new area to melt the tape in place.
After you are done with the area, you can just press down the carpet, and it’s going to stick to the tape firmly. Then, wait for a bit to let everything cool down. That way you’ll get the best results from the seaming tape that you are using underneath the carpet to get the seams attached.
Using a Carpet Roller to Seal the Seam
Now that you have activated the seaming tape with heat and pressed the carpet on it, it’s time to use a carpet roller to seal the seam for good. You can get it at a very affordable price from your local hardware store or online. It looks like a painting roller that you can use to push down the seam to seal it in place.
Yet, you need to be a bit careful while you are using it. In the beginning, you need to run your thumb over the seam and make sure that it’s aligned perfectly for the carpet roller. You can use it by pushing it down firmly and moving it in a back and forth motion. Do it while you heat the areas to get the most efficient and better end results.
Also, you’ll need to wait for at least 20 minutes before you move onto the next steps which will involve tacking and stretching the seam to get it perfectly down in place. That 20-minute delay will help to cool down everything so that the seam is better sealed, and that’ll ensure a seamless finish and better durability.
Tacking the Carpet with a Knee Kicker
After you are done sealing the seams of the carpet, it’s time to tack the carpet down into place using a knee kicker. That’s going to smoothen the corners and edges of your room and give the finishing look that you crave. For that, you’ll need to place the carpet tooth to the edge of the wall corner that you’ll work with. After that, you’d have to hit the vertical part that’s sticking out from the other end, and you want to apply a good amount of focus there.
To get the best results, use your knees to tack the carpet on the strips and do it for every single foot, which is going to be enough for you in that scenario. However, as you are going to apply a good amount of force, it’s going to be a good idea to use knee pads to prevent any unwanted injuries.
Also, you have to know that it’s not the last step in the process of carpeting your room. So, if you see some excess carpet sticking out of the place, don’t panic. You’ll be able to take care of it using the next methods that you’ll see.
However, make sure to use the carpet knee kicker properly to get the carpet tucked into the ground. If you do it correctly, it’s going to give better durability and a sleek look as well. So, it’s definitely a place to spend some time and effort.
Stretching the Carpet Across the Room
Once you are done with the basic knee kicking the carpet to tack it down, you’d have to stretch the carpet across the room to tack it on the other side. For that, use a good amount of strength so that you ensure a good pull. After that, you can use the knee kicker that you used earlier to take the extra into place as well.
In this part of the installation process, you need to make sure that you get all the lumps out of the carpet. After that point, it’s going to be nearly impossible to fiddle with such things. You’d have to undo most of the parts that you have gone through, and also, it’s going to waste a lot of materials as well.
If you want to get the maximum efficiency out of this process, you can always use a carpet stretcher to do that. That’s just the best way to take the load off of you, and it’s perfect if you don’t like to do much effort at all. Whatever you do, make sure that you stretch the carpet of your room properly before you do anything else there.
Using the Knee Kicker Once More
This is the 2nd and final time that you’d have to use the knee kicker to get the seamless carpeting in your room. Once you stretch the carpet well, you’ll need to use the knee kicker to tuck the excess back into place tightly.
Just follow the previously mentioned method of using a knee kicker to do the job efficiency. Remember, this is the end of the real installation process, and you need to be extra careful about it as well. In the next segment, we are going to look at how you’ll get the best finish in your room.
However, you might already feel that it’s a pretty hard effort for you. If you don’t want to do all that by yourself, you can hire a professional service and discuss the deal. In most cases, they’d be super happy if they can help you out and give you the best carpeting in your room. It’s going to cost you some money, but you’ll undoubtedly get the professional finish in your room.
But if you feel like you can do it by yourself, and you don’t want to spend money on that, you can go with it. Just make sure that you follow the instructions properly and go through the whole process. You don’t want to skip any parts as it can mess up the entire thing for you. So, as you have installed everything in place, let’s cover how to get the best finish on your room without further ado.
Step 4: Trimming the Carpet
After you finished step 3, you can give yourself a pat on the back as you are almost done with the complete process of how to install carpet. Now, all you need to do is trim the carpet and give it a nice finish that’s going to complete the look. As you can probably tell, the hard work is already complete.
You just have to trim the uneven edges and any extra part that’s hanging outside the surface area. That takes away from the look and makes the whole thing look super messy. You can finish up your glorious job by following the simple methods that are shown down below.
Using a Carpet Trimming Tool
Trimming the carpet can be a very tricky thing to do, especially if you don’t have the right tools for it. Luckily, the carpet trimming tool can be a lifesaver for you in that case which you can use. These are pretty affordable, and you can get your hands on one pretty easily. Just search and grab a good one for you online.
Basically, you’ll need to push the tool along the wall to trim off any access that might be in place. This machine has a blade on the edge of it, which is going to cut the excess. But if you don’t want to spend your money to get a carpet trimming tool for this job, there are plenty of alternatives for you anyway.
For instance, a box cutter is going to be the best alternative to a carpet trimming tool in that case. Make sure that it’s new and sharp so that you can actually cut the excess with it. You can probably guess that it’s going to take a pretty long time and energy as well to get the job done using a box cutter. So, if you can afford it, you should go for a carpet trimming tool to get more efficiency and a cleaner finish as well.
Checking the Cut Before Taking off the Strip
Once you are done cutting the excess off the carpet, you can remove it from the place to get a cleaner finish. However, if you don’t want to take any chance, you should be a bit more careful with it. The best thing to do before taking off the strip would be to check if there are any strings attached to the main carpet.
If you see any, just use the box cutter to manually take care of it. But if you don’t stay alert about that and pull it without checking, you can actually ruin the main carpet. That’s because the strings have a higher chance of pulling the fibers from the carpet, which damages it. So, make sure to check everything before you take off the strip to avoid the risk of causing that issue.
Using a Chisel to Press the Edges
Once you’ve cut the edges to a perfect size so that there is no excess left, you’ll see that it’s sticking out. To give a better and smoother finish to the whole thing, you can use a chisel to push down the edges to the baseboard. You are basically pressing it down under the baseboard using the chisel as a tool to wedge.
Most of the time, getting it to the place is going to be pretty easy for you. Yet, if you face any difficulties pressing it around the edges, you can use a hammer to do the job as well. Just make sure that you don’t slam the hammer as hard as you can. Just make gentles strokes with it, and that’s going to do the job for you. This is how to fit a carpet in a room that looks and feels seamless. Once you are happy with the results, you can be done with the whole process.
As you wrap up, you can now clean up the place and take all the excess out of the place, which is going to leave you with a gorgeous carpeted room.
Bringing Everything Together
Now that you are done with the whole process of carpeting your room, it’s time to bring all the hardware back to the room. Now, one thing you’ll notice is that you can’t drag the heavy furniture on the carpet as it’s going to ruin the carpet for you. You can either pick it up or use a dolly to get it in place.
Using a dolly to do the job is much easier and efficient in that case. If you’ve taken any floor vents, this is the time to place them back in where you removed it from and screw it back as well. And that’s going to finish up everything you need to carpet your room without any trouble, and you can enjoy the beauty and aesthetics of your room without any further interruptions.
Cautions
Now that you know how to install carpet in your room, let’s check out some of the things you need to be super careful about during the installation process.
- Running short on materials: It’s going to be the worst-case scenario if you run out of materials, especially if the carpet runs short in the carpeting process. So, make sure that you are dead on about the measurements and go for some extra.
- Clumsy Installation: You should never hurry while carpeting your room as it’s going to cause issues in the future. For instance, if you don’t get the tackless strips down in place properly, what’s going to hold the carpet? That’ll cause loose carpeting and so many other problems that you’d have to deal with. So, never rush and do the clumsy installation in any steps.
- Improper Cuts: As you move on to cut the carpet at the end to get the finishing look, you need to be super careful about it. If you cut too much, it’s going to cause a short carpet, which is the worst thing that can happen in that case. So, when you cut or trim the carpet, make sure to be very cautious about it.
- Wasting too much on materials: One of the things you need to be careful about is not wasting your money on super expensive stuff. For instance, if you see a carpet that’s very pricey, you might want to avoid buying it. Always be realistic about what you need, and consider your budget as well. That’ll make sure you get the best possible deal for yourself.
To Wrap Up
You just went through an in-depth guide on how to install carpet that you can easily follow through. As you saw, it’s actually pretty easy to carpet your rooms, and it doesn’t even require fancy tools or expert skills.
Yet, if you don’t feel like putting in the effort to do it yourself, you can always hire professional services to do the job for you. It’s going to cost you a little money, but the results will be completely worth it. So, invest in carpeting your rooms to make it look more luxurious and cozy without spending a ton on fancy stuff. Read How to Clean Carpet – DIY to Clean Carpet

